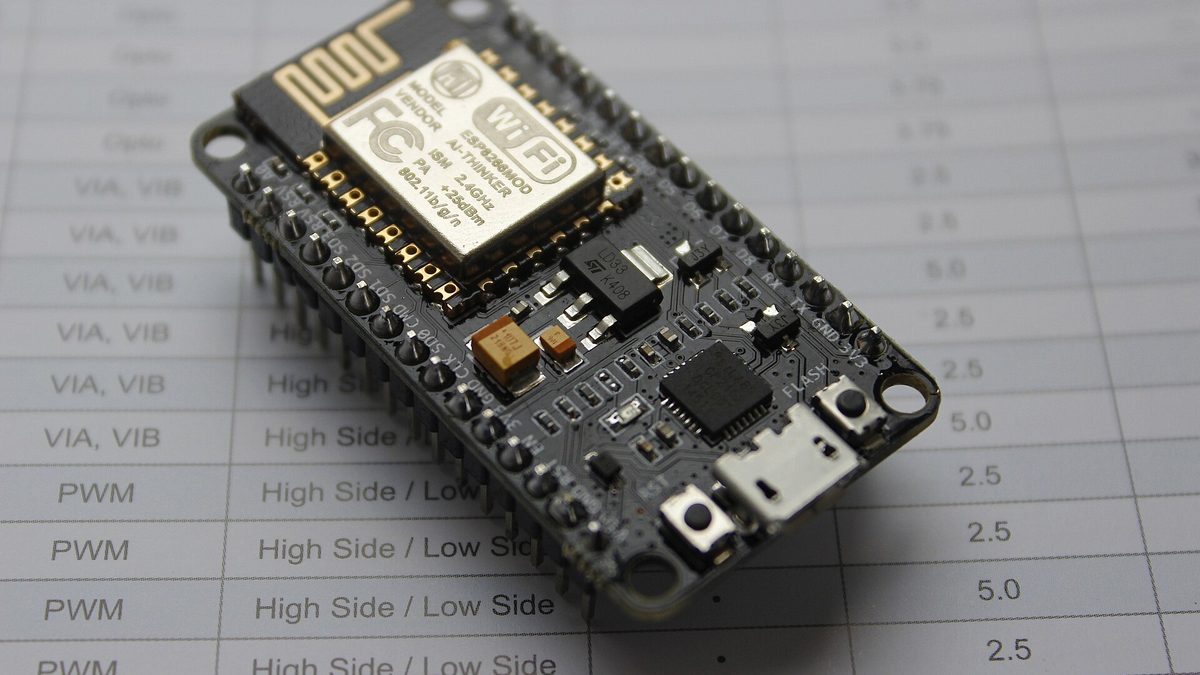
Tasmota and ESPHome both replace a device's firmware so it runs locally, but both were built for Espressif ESP8266 and ESP32 chips. Many recent plugs use Beken or Realtek chips instead, which need LibreTiny, its ESPHome port, or OpenBeken. Check the chip before choosing, and never flash a device while it is connected to mains power.
- The chip decides, not the brand. Tasmota supports Espressif chips only; Beken and Realtek need other projects.
- Tasmota is configured on the device, through its web page, and built around MQTT.
- ESPHome is configured in YAML and compiled, then talks to Home Assistant through its native API.
- Never flash on mains power. Serial flashing means opening the device and powering it from the adapter only.
Why firmware is the only exit you control
When a vendor turns its cloud off, a device that only spoke to that cloud has nothing left to say. Our guide to cloud shutdowns covers the buying test that avoids this. For the devices already on your walls, replacing the firmware is the one move the vendor cannot undo: after it, the device answers to your network and nothing else.
Two open-source projects dominate this work. Tasmota, under GPL-3.0, and ESPHome, whose licence combines MIT for its Python tooling and GPL-3.0 for the firmware code it compiles. Both produce firmware that keeps working with the internet unplugged.
The tuya-cloudcutter README puts it bluntly: using it means “you will NO LONGER be able to use Tuya's apps and servers.” The same holds for any replacement firmware. Decide that you want local control before you start, not halfway through.
First, find out which chip is inside
This is the step most tutorials skip, and the one that decides everything else. Tasmota's documentation is precise about its scope: every ESP8266, ESP8285, ESP32, ESP32-S or ESP32-C3 based device can be flashed with it. Nothing outside the Espressif family.
Many cheaper Wi-Fi plugs sold in recent years use other chips, notably Beken BK7231 and Realtek RTL87xx modules. For those, two projects fill the gap: LibreTiny, an MIT-licensed platform for BK7231, RTL8710 and LN882H chips with an ESPHome port built on it, and OpenBeken, which describes itself as a Tasmota and ESPHome replacement for BK7231 and many other chips.
| Chip family | Tasmota | ESPHome | Other route |
|---|---|---|---|
| ESP8266, ESP8285 | Yes | Yes | — |
| ESP32, ESP32-S, ESP32-C3 | Yes | Yes | — |
| Beken BK7231T, BK7231N | No | Through LibreTiny | OpenBeken |
| Realtek RTL8710BN | No | Through LibreTiny | OpenBeken |
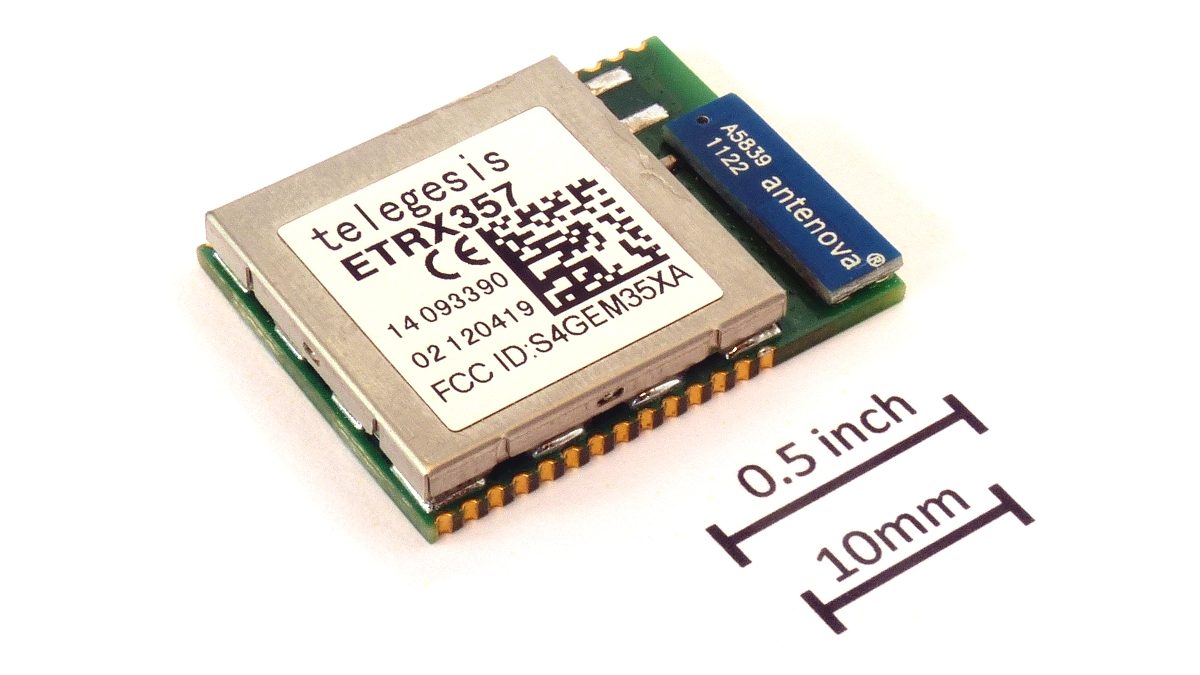
The module is usually a small shielded board with a printed model number. Module names map to chips in each project's documentation, so read the marking, then look it up there rather than trusting the product listing.
Tasmota or ESPHome, once the chip allows both
On an ESP-based device you can choose, and the choice is about how you want to manage it rather than what it can do.
| Tasmota | ESPHome | |
|---|---|---|
| Configured | On the device, through its web page | In a YAML file, compiled into firmware |
| Talks to Home Assistant | Over MQTT | Through its native API, discovered automatically |
| Changing a setting | Edit it live on the device | Edit the YAML and install again |
| First install | Web installer, serial, or OTA conversion for some devices | Over USB, then wirelessly afterwards |
| Licence | GPL-3.0 | MIT and GPL-3.0 |
Tasmota suits people who want a device they can reconfigure from a browser and that speaks MQTT to anything. ESPHome suits people who already run Home Assistant and prefer every device described in files they can version and copy.
Three ways the firmware gets on
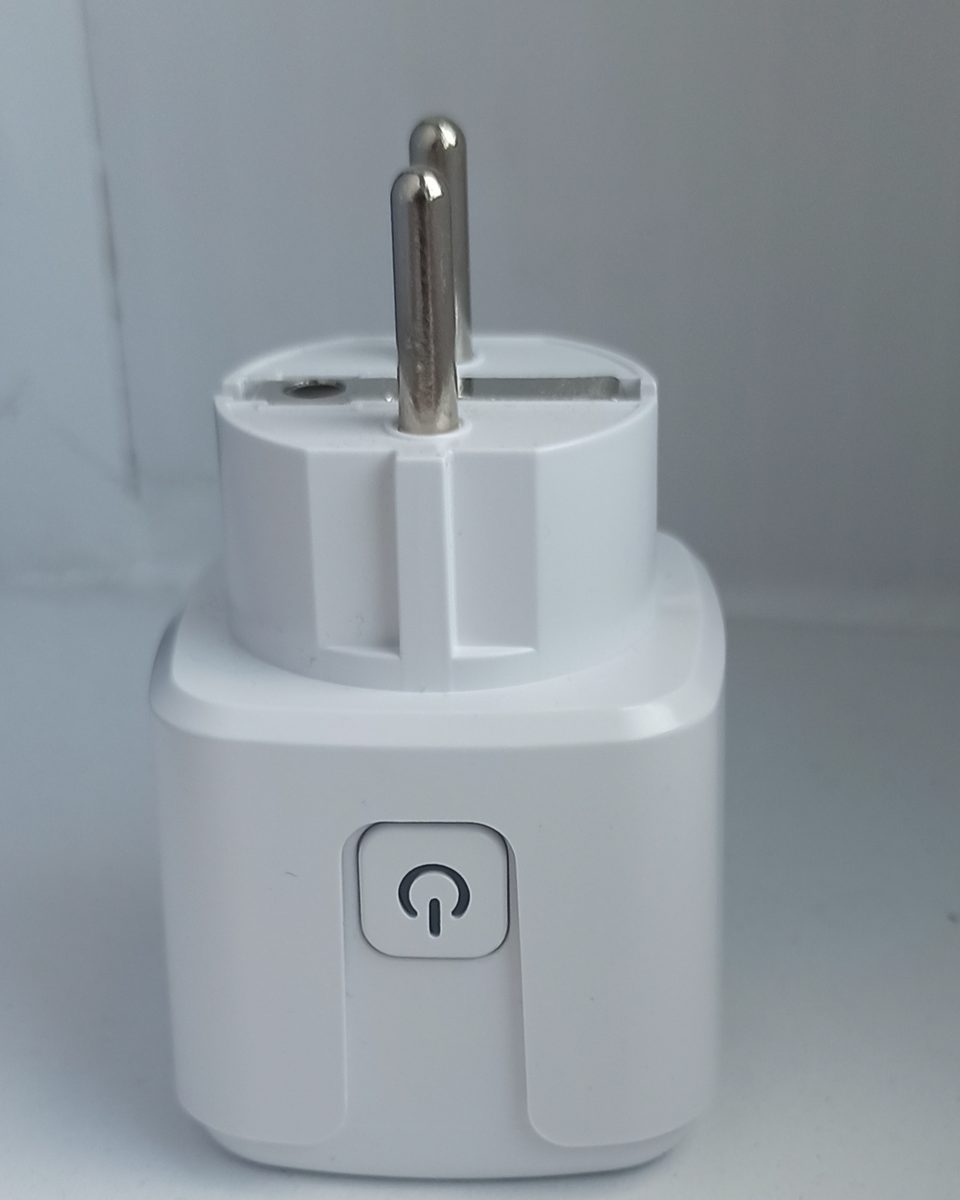
- Serial flashing. Open the device, connect a USB-to-UART adapter at 3.3 V to the chip's serial pins, and write the firmware. It works on almost anything, and it is the method behind the safety warning below.
- Over-the-air conversion. Tasmota lists OTA conversion for select Shelly, Tuya and Sonoff devices. No screwdriver, but only for the models and firmware versions that allow it.
- tuya-cloudcutter. For unpatched Beken BK7231T and BK7231N and some Realtek modules, it disconnects the device from Tuya's cloud and can flash custom firmware over the air. Its README notes that Tuya patched its SDK in February 2022, so devices built on firmware compiled after that are not exploitable.
Tasmota's documentation is written in capitals for a reason: never try to flash while the device is connected to mains power. When the case is open, the plug must be unplugged, and the board powered only by the 3.3 V adapter. If you are not comfortable with that, use a device that supports OTA conversion, or buy hardware that ships with local firmware.
Sources
- Tasmota: getting started, supported chips, flashing and safety
- ESPHome: getting started with Home Assistant
- LibreTiny repository
- OpenBeken repository
- tuya-cloudcutter repository and warnings
Checked on 7 October 2026. We have not flashed devices for this guide; it summarises what each project documents.
Frequently asked
Can Tasmota run on a Beken BK7231 plug?
No. Tasmota supports Espressif ESP8266, ESP8285 and ESP32 family chips. Beken chips need LibreTiny, its ESPHome port, or OpenBeken.
Do I have to open the device?
Not always. Some Shelly, Tuya and Sonoff devices support OTA conversion, and tuya-cloudcutter works over the air on unpatched Beken and Realtek firmware. Otherwise serial flashing requires opening it.
Will the vendor app still work afterwards?
No. Replacing the firmware disconnects the device from the vendor's cloud and app; control moves to your own network.
Which one should I pick for Home Assistant?
Either works. ESPHome connects through Home Assistant's native API and is discovered automatically; Tasmota connects over MQTT, so it also needs a broker.
Keep reading
 Pairing
"Your device requires a Thread border router": the real fix
The error almost never means what it says. Nine times out of ten the border router exists and IPv6 is the thing that is broken.
 Radio
RadioZigbee and Wi-Fi on 2.4 GHz: pick the channel that stops the drops
Zigbee 15, 20 and 25 exist for a reason. Here is the overlap map and how to move channel without re-pairing forty devices.
 Longevity
The great bricking: how to buy gear that outlives its manufacturer
Wemo's cloud went dark in January 2026. Here is the four-question test we now run before any purchase.